We use analytics and cookies to understand site traffic. Information about your use of our site is shared with Google for that purpose.You can read our privacy policies and terms of use etc by clicking here.
Drift Detection with CIFAR10 Image Classifier
Launch an image classifier model and detect drift.
This demo is based on model distiliation drift detector in the alibi detect project.
The idea is that input data can change over time and become significantly different from the model training data. When the input data distribution shifts then prediction quality can drop. We want to know when that happens.
Here we will :
- Launch an image classifier model trianed on the CIFAR10 dataset.
- Setup a drift detector for this particular model.
- Send a request to get a image classification.
- Send a request to trigger a drift detection.
- View the drift in the dashboard.
Note
This demo requires Knative installation on the cluster as the outlier detector will be installed as a kservice.Create A Model
Note
- Verify the namespace you will be deploying to.
- Deployment names must be unique and only contain alphanumeric characters.
From the deployment overview screen, click on the Create[1] button to create a new deployment.
- In the deployment creation wizard, enter a name[2] for your new deployment.
- Select the namespace you would like the deployment to reside in (e.g.
seldon). - From the protocol dropdown menu, select
Tensorflowand click next. For the deployment details, enter the following values, then click next:
- Runtime:
Tensorflow Model URI:
gs://seldon-models/tfserving/cifar10/resnet32
- Runtime:
Skip the remaining steps, then click
Launch.
Add A Drift Detector
Note
- Make sure you are in the correct namespace.
- By default, the Reply URL is set as
seldon-request-loggerin the logger’s default namespace. If you are using a custom installation, please change this parameter according to your installation.- Increase this value to make the drift detector less sensitive.
From the deployment overview page[1], select your cifar10 deployment to enter the deployment dashboard.
Inside the deployment dashboard, add a drift detector with by clicking the Create button within the Drift Detection widget.
Enter the following parameters in the modal popup which appears, using the default settings[2]:
- Model Name:
cifar10. Model URI:
gs://seldon-models/alibi-detect/cd/ks/cifar10-0_4_4Reply URL:
http://seldon-request-logger.seldon-logsBatch Size:
2[3].Protocol:
Tensorflow.HTTP Port:
8080.
Then, click Create Drift-Detector to complete the setup.
Make Predictions
- From the deployment dashboard, click on
make new prediction. - Run a single prediction using the tensorflow payload format of an image truck.
Next, run a single prediction using the tensorflow payload format of an image of an outlier truck image.
Monitor Drift On The Monitor Screen
Under the ‘Monitor’ section of your deployment, you can see a timeline of drift requests.
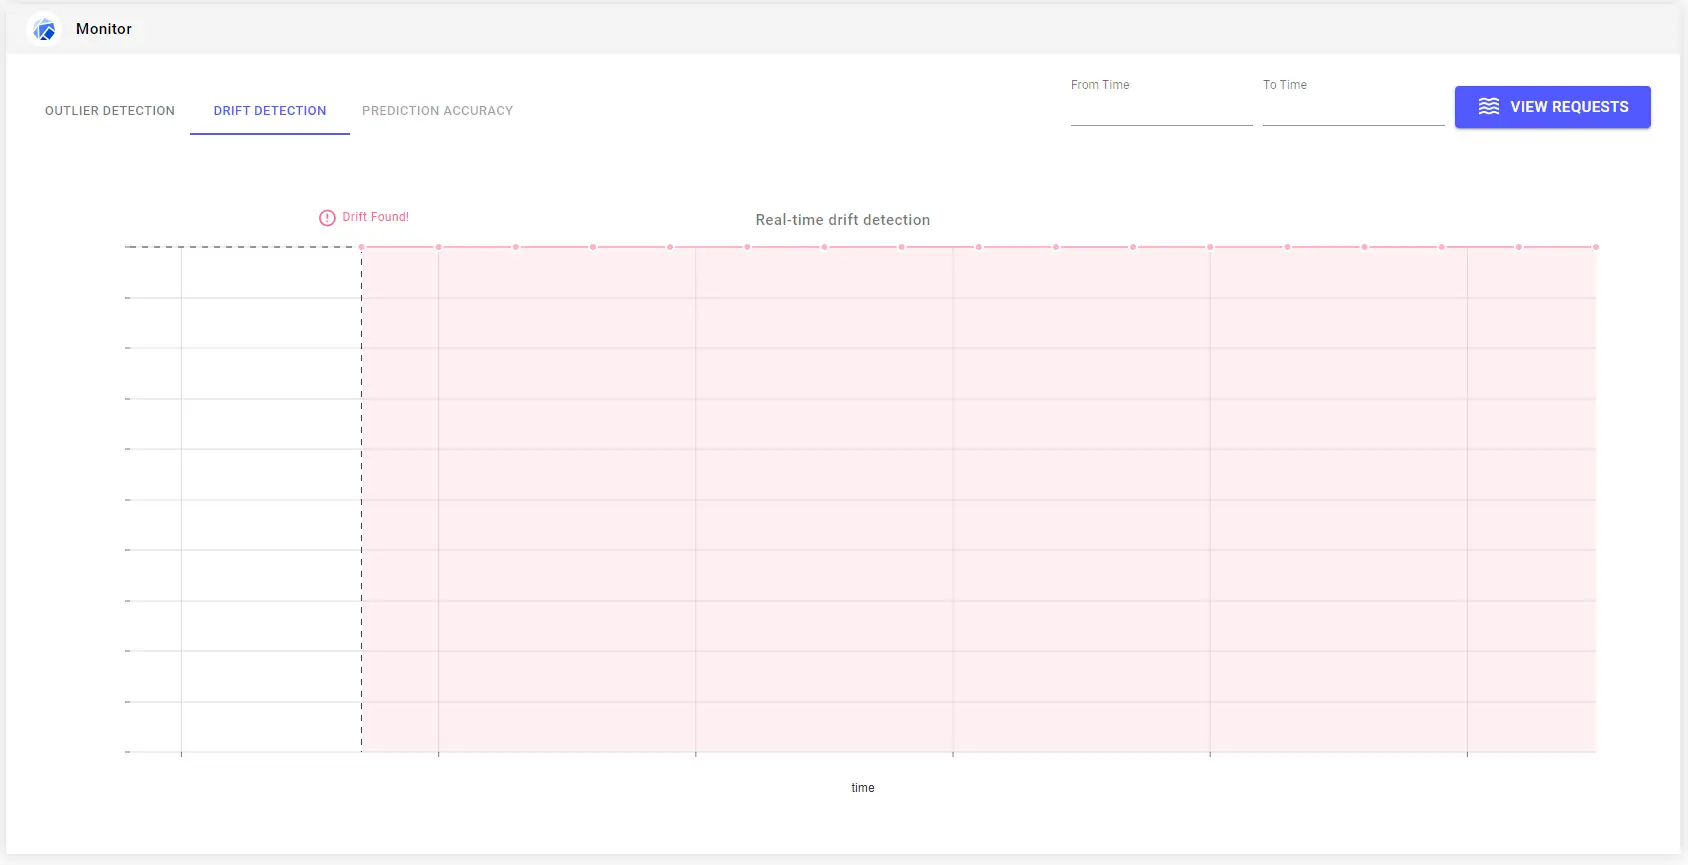
This becomes clearer if you make many requests over a period of time.
Last modified May 25, 2021